When a Gem purchase does not immediately appear in VeVe, a Market deal looks unclear, or Support asks for details, a clean record matters more than a hunch. This is exactly where many cases fall apart: The purchase was legitimate, but the order ID, timestamp, payment method, or in-app screenshot is missing.
This guide explains which records you need for each situation, how to find your Apple and Google purchase histories, and which screenshots from VeVe you should save immediately after important actions. This is not legal or tax advice, but a practical collector routine designed to reduce stress.
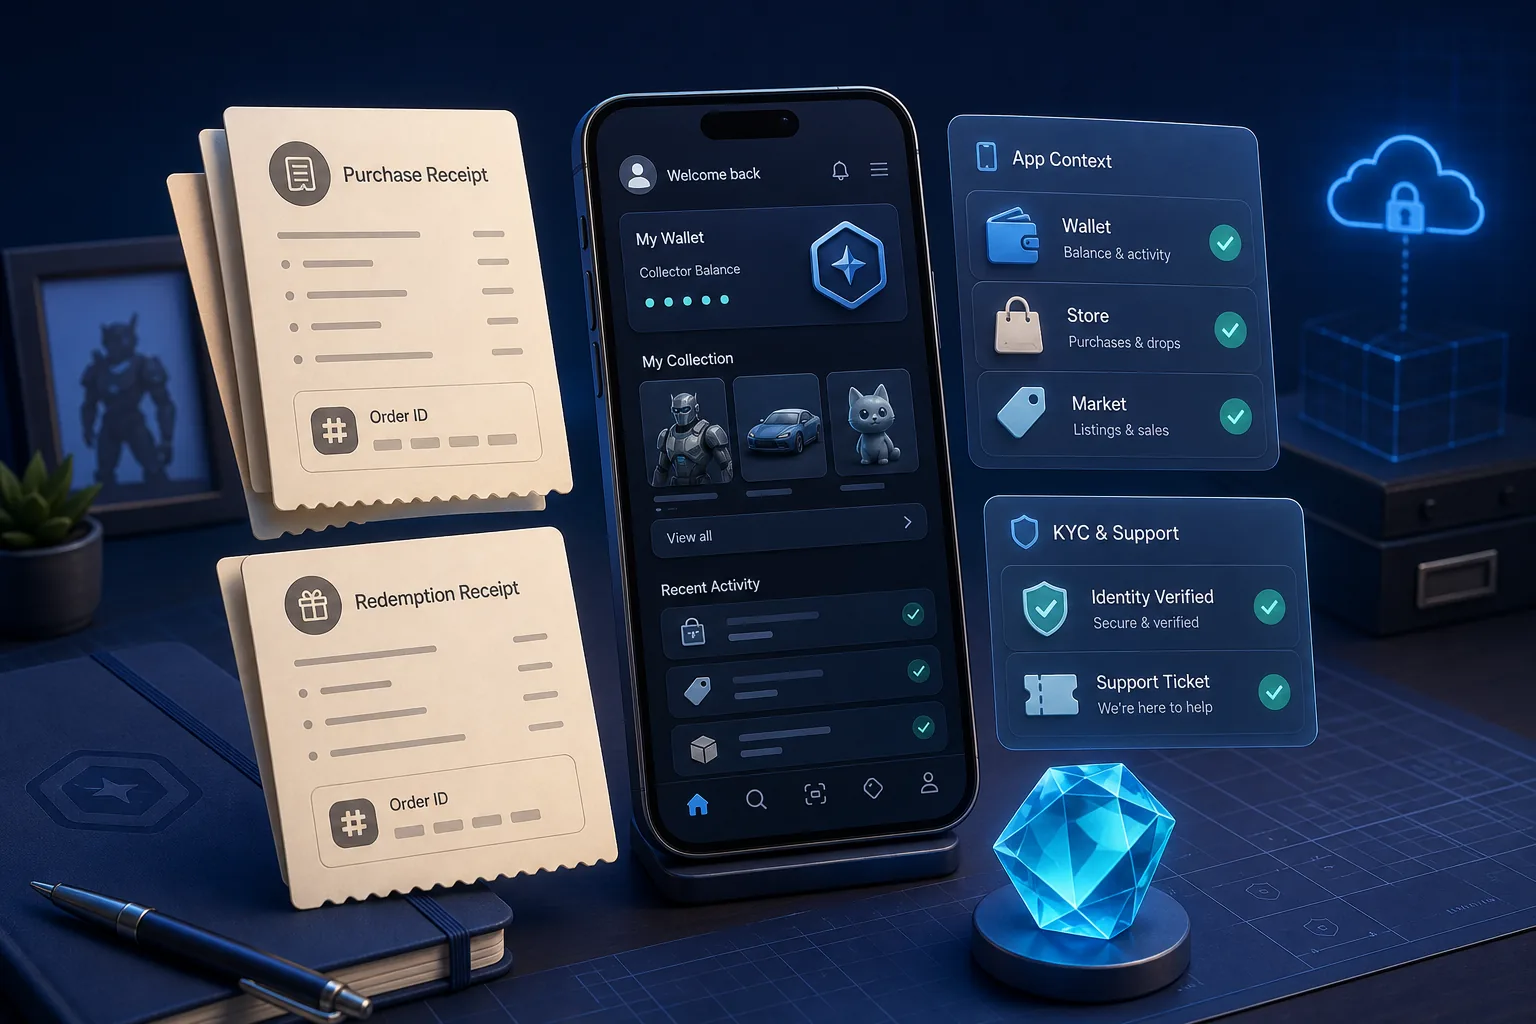
TL;DR: Always save three layers of documentation for VeVe: the external payment receipt from Apple, Google, or the web checkout; proof from within VeVe, such as your Wallet balance, item details, or listing; and the surrounding context, including the date, time, account email, and Support ticket. A single screenshot from Discord, X, or a DM is not reliable proof of purchase.
Why VeVe purchase records have become more important
VeVe continues to sell Gems through its website and mobile app. According to VeVe, as of November 19, 2025, Gems were classified as a non-transferable and non-redeemable in-app licensed product; at the same time, Gems remain the means of purchasing digital collectibles and comics in the Store and Market.
For collectors, this means that a Gem purchase, a Store purchase, and a Market purchase are not the same type of documentation case. If Support, KYC, an account review, or your own recordkeeping becomes relevant later, you should clearly distinguish which transaction you need to document.
If you also want to understand why payment methods, app-store rules, and fee structures can make Gems seem complicated, read our guide to app-store fees and payment methods. For a current comparison of app and web purchases, see Buying VeVe Gems: Website vs. App.
Which records do you need for each situation?
Do not think in terms of a single “receipt.” Think in terms of a complete paper trail. The more clearly you separate the purchase channel, product, and issue, the easier it is for Support—or for you—to understand what happened.
1. Gem purchase or top-up
For a Gem purchase, start with the receipt from the payment channel. On iOS, that is usually Apple; on Android, Google Play; and for web purchases, the relevant web checkout or payment provider.
- Essential: Order ID or transaction number.
- Also include: Purchase date, time, amount, currency, and account used.
- VeVe screenshot: Wallet balance before and after the purchase, if available.
- Typical use: Missing Gems, a duplicate charge, refund review, or a Support ticket.
2. Store purchase of a collectible or comic
For a Store purchase, it is not enough to show that you had Gems. You want to document which digital item you purchased and when.
- Essential: VeVe confirmation screen or completed purchase screen.
- Also include: Item name, series, edition number, rarity, purchase time, and Gems deducted.
- VeVe screenshot: The item details page in your Collection.
- Typical use: A missing item, incorrect display, Drop issue, or future collection records.
3. Market purchase or sale
Context is critical in the Market: Were you the buyer or seller? Did the issue involve a listing, a completed transaction, or a displayed balance?
- Essential: Listing details showing the price, edition number, and timestamp.
- Also include: Before-and-after balances, whether you were the buyer or seller, and the item details.
- VeVe screenshot: The Market listing, sale notification, or purchase confirmation.
- Typical use: A Market dispute, incorrect Gem balance, or unclear transaction history.
For the basics of listings, liquidity, and common risks, see the VeVe Market Guide.
4. Web app or website purchases
Web purchases require especially careful documentation because the browser, payment provider, email address, and VeVe account all need to match. Save not only the payment receipt but also the visible context in your browser.
- Essential: Payment confirmation, checkout ID, or email receipt.
- Also include: A browser screenshot showing the date, visible VeVe context, and account email, if displayed.
- VeVe screenshot: Your Gem balance or item status after the purchase.
- Typical use: Web app Support, a KYC follow-up, or payment reconciliation.
If you use VeVe in a browser, the VeVe Web App Guide 2026 is also useful, especially for login, KYC, and Gems.
Quick start: Set up your receipt folder in 10 minutes
You do not need to build a complicated archive. A simple, repeatable structure is often enough to keep you from scrambling if an issue arises.
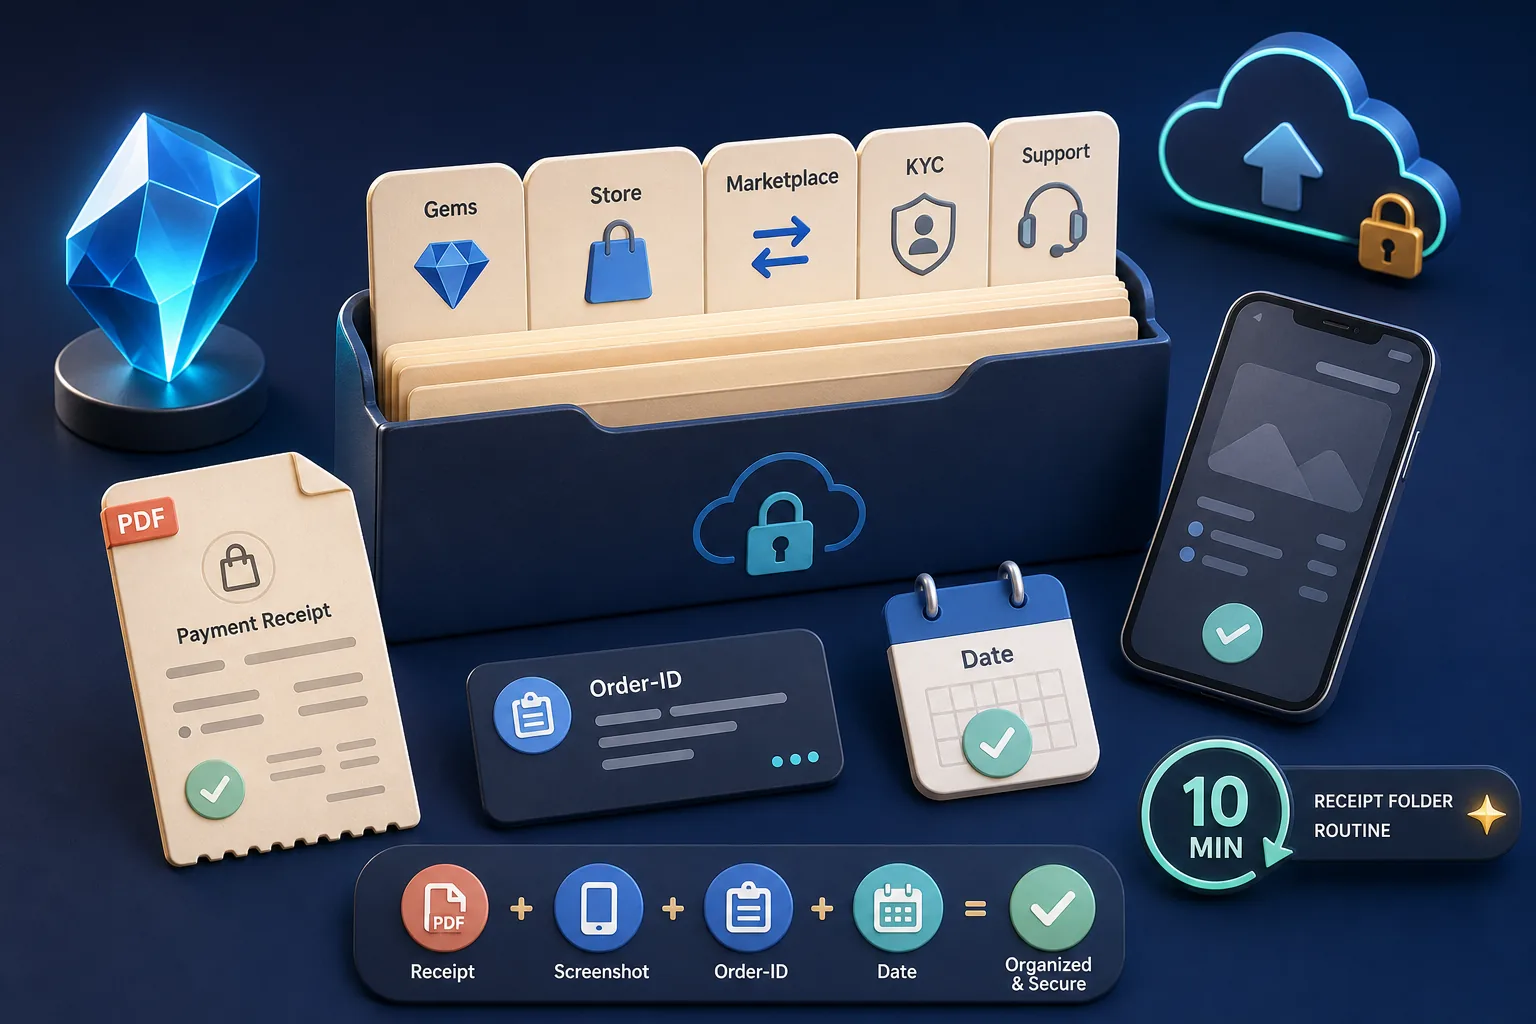
- Create a folder: Make a folder named “VeVe Receipts” on your device or in secure cloud storage.
- Separate subfolders: Use “Gems,” “Store,” “Market,” “KYC,” “Support,” and “Web App.”
- Standardize filenames: Example: “2026-06-01-veve-gems-apple-order-id.”
- Save a PDF and screenshot: Whenever possible, save both a PDF of the receipt and a screenshot.
- Add a notes file: Briefly record what happened, including the purchase, issue, ticket number, and account email.
This routine may sound basic, but it can save time later. With older purchases in particular, the biggest mistake is searching only in the app and forgetting the original payment receipt.
iOS: How to find Apple receipts for VeVe purchases
If you purchased Gems through an iPhone or iPad, Apple is often the first place to look. Apple directs users to their purchase history and reportaproblem.apple.com, where you can review purchases and filter by date range if needed.
Option 1: Use reportaproblem.apple.com
- Open Apple’s purchase issue website in your browser.
- Sign in with the Apple ID used for the purchase.
- Search for VeVe, Gems, or the relevant purchase date.
- Open the entry and save the order ID, amount, date, and product description.
- Save the receipt as a PDF or screenshot.
Option 2: Use an iPhone or iPad
- Open Settings and tap your name.
- Go to Media & Purchases and open Purchase History.
- Apple often displays a period such as “Last 90 Days” by default.
- If the purchase is older, change the date range or filter.
- Find the VeVe purchase and save the details.
Make sure the Apple ID actually matches the one used for the VeVe payment. Many users have multiple Apple IDs or use Family Sharing, which can cause a purchase to appear somewhere other than expected.
Android: How to find Google Play receipts for VeVe purchases
For Android purchases, Google Play is the main place to start. Google outlines three options: the Play Store app, play.google.com, and payments.google.com.
Option 1: Play Store app
- Open the Google Play Store.
- Tap your profile picture in the upper-right corner.
- Go to “Payments & subscriptions.”
- Open “Budget & history.”
- Find the VeVe purchase and note the order ID, date, amount, and account.
Option 2: Use play.google.com in a browser
- Sign in with the Google account used for the purchase.
- Open “Payments & subscriptions.”
- Go to your order history.
- Save the relevant entry as a PDF or screenshot.
Option 3: Use payments.google.com
If a purchase does not immediately appear in your Play history, the Google Payments Center may help. It shows activity and may include additional payment details that can be useful for Support requests.
Also search your Gmail account. Google normally sends a confirmation email to the Google account used for Play purchases. Search for terms such as “Google Play,” “VeVe,” “Gems,” “receipt,” or the expected purchase amount.
Documentation within VeVe: Screenshots you should save
External receipts prove that a payment was made. Screenshots from VeVe show what happened within your collection. Together, they are stronger than either side of the story on its own.
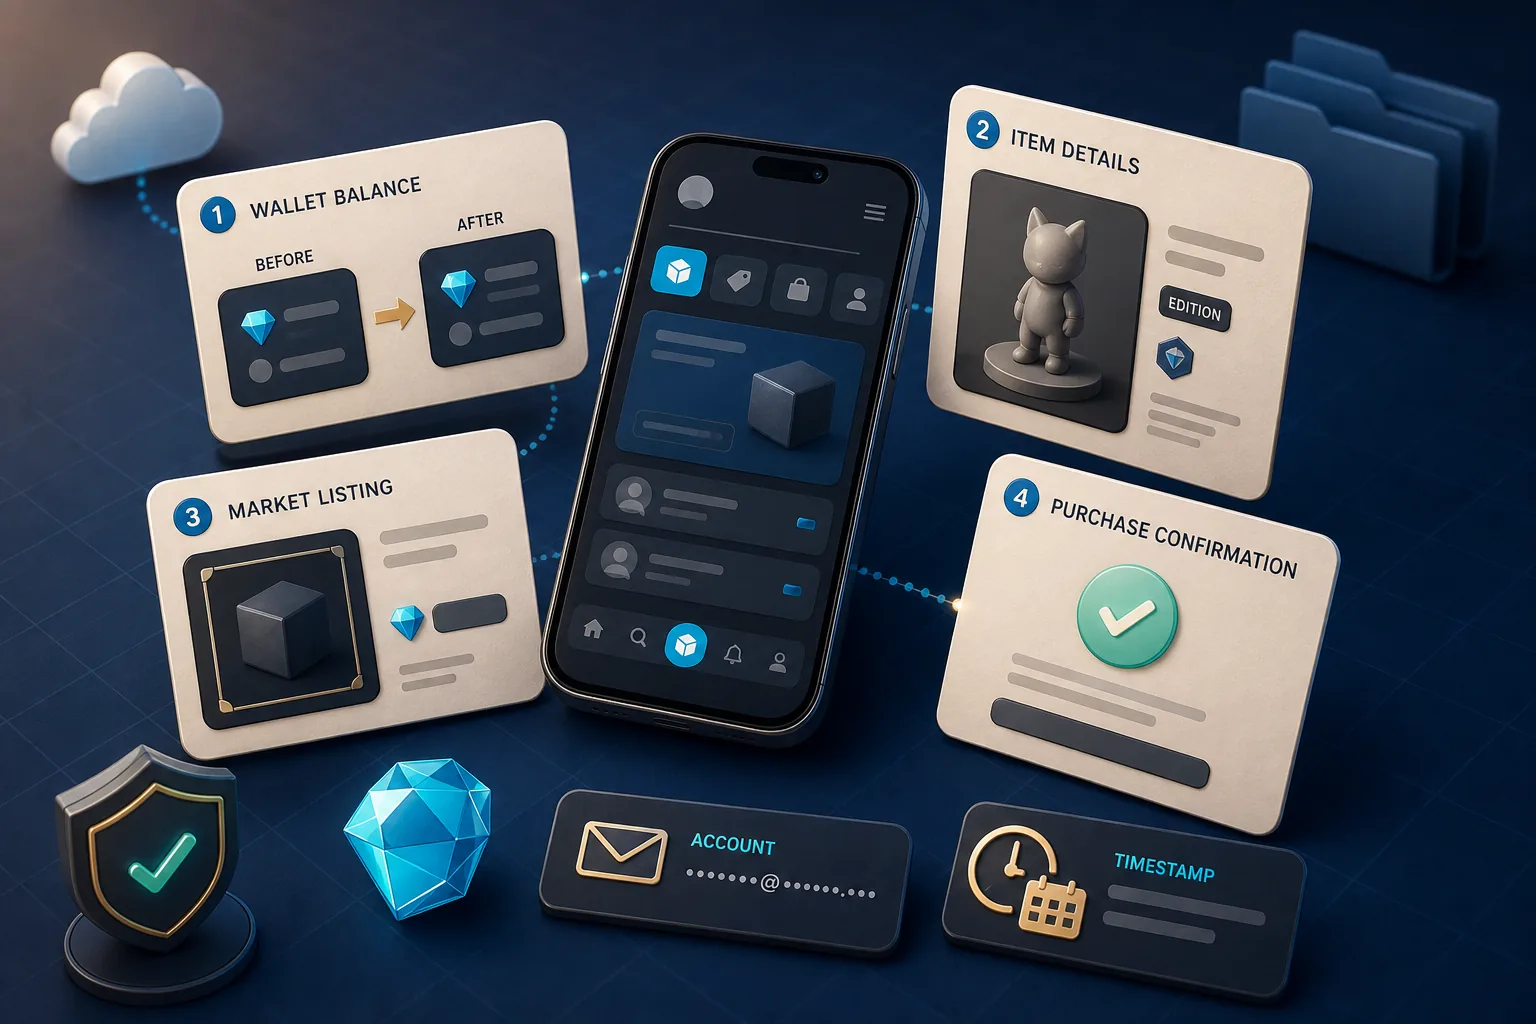
For Gem purchases
- Your Wallet balance before the purchase, if you plan to add Gems.
- The checkout or confirmation screen.
- Your Wallet balance after the purchase.
- Any error message if the Gems do not appear.
For Store and Drop purchases
- The Drop or Store page showing the item name.
- The purchase confirmation or reservation, if visible.
- The details page for the collectible or comic in your Collection.
- The edition number, series name, rarity, and timestamp.
For Market activity
- The listing before the purchase or sale.
- The price in Gems and visible item details.
- The confirmation after completion.
- Your before-and-after balances.
For KYC cases, it is also important to keep your name, address, and payment information consistent. The VeVe KYC Guide 2026 explains common issues such as mismatched information, blurry documents, and unsuitable proof.
What does not count as reliable documentation?
A screenshot can be helpful, but it is not automatically proof. What matters is whether it clearly shows the source, date, transaction, and relevant context.
- A tweet or Discord screenshot without official context is not proof of purchase.
- A DM from someone claiming to be Support is not proof of payment.
- A bank transaction without an order ID does not explain which VeVe product was involved.
- A photo of a screen without a date, account, or product details is weak evidence.
- A screenshot of a Market price does not prove that you bought or sold the item.
If your account appears restricted or you can no longer access it, gather your receipts and basic account information before opening multiple tickets or creating new accounts. In those cases, the guide to Restricted Access and disabled accounts is the better next step.
Anti-scam: Access receipts only through official channels
Searching for receipts is a common opportunity for scammers. When someone urgently needs an order ID, they may be more likely to click a fake link or respond to a supposed Support DM.
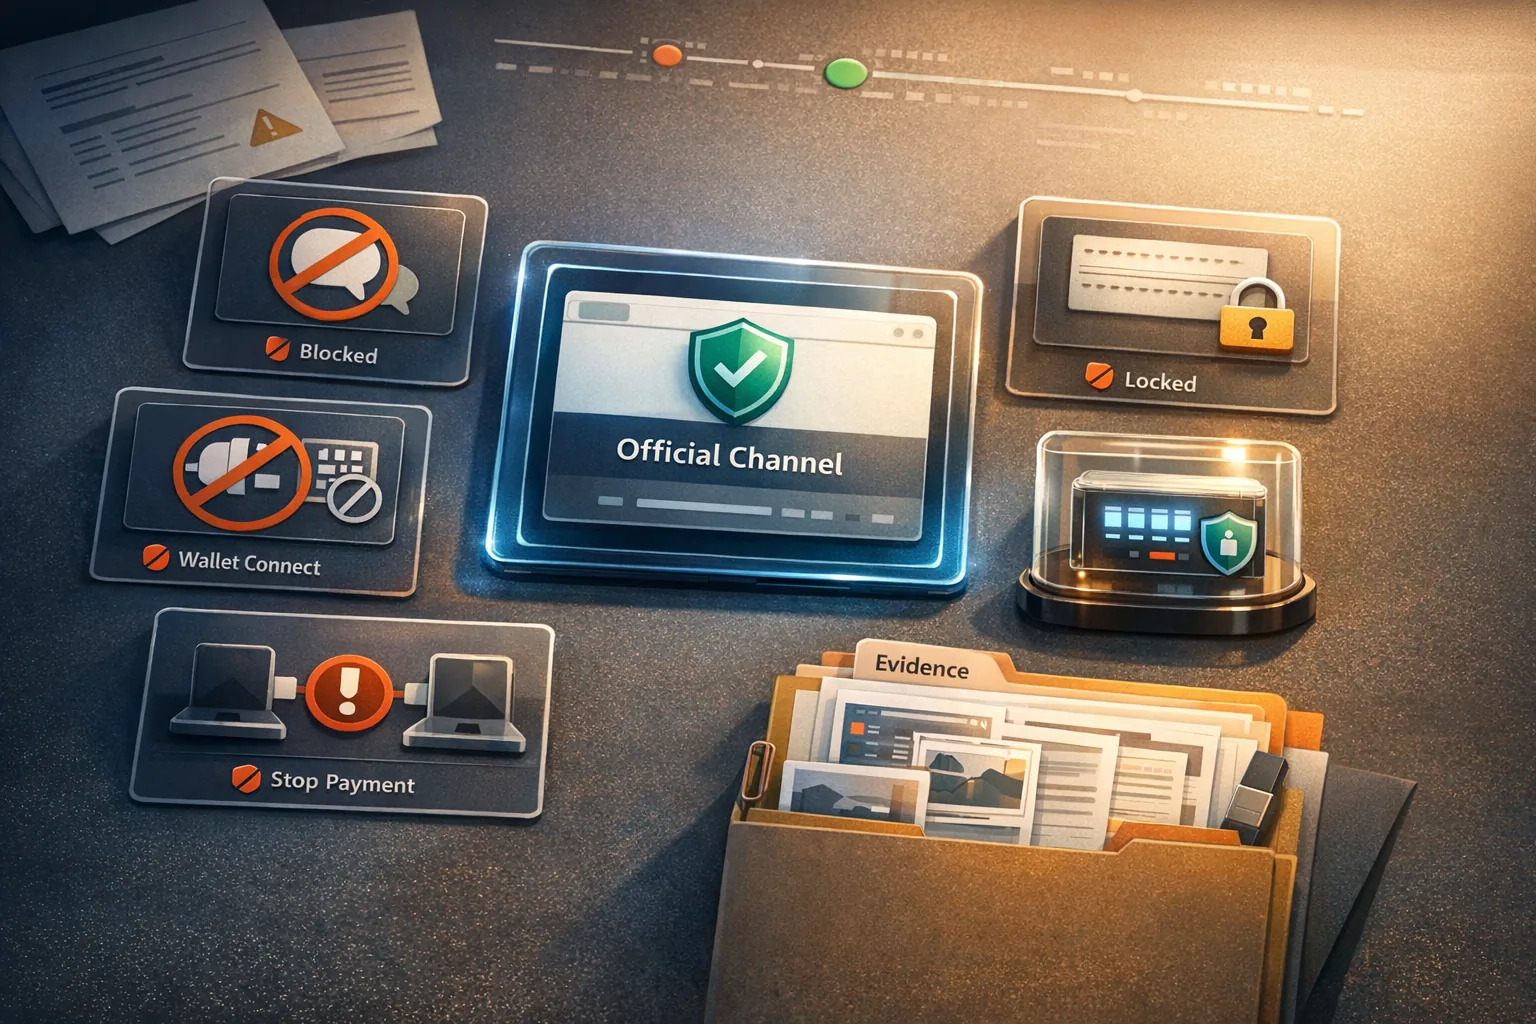
- Always open Apple, Google, and VeVe websites yourself or through saved bookmarks.
- Never enter seed phrases, recovery information, or wallet keys to obtain a receipt.
- Do not connect a wallet just because someone claims it is needed for “Receipt Verification.”
- Never share 2FA codes, even with someone claiming to be Support.
- Do not download files from DMs to review supposed purchase histories.
For general security basics, see Custody vs. Self-Custody for Collectors. If you use OMI or StackR, also follow the security guidance in Setting Up StackR Securely.
Collector checklist: Before every Support request
Before contacting VeVe, Apple, or Google, put your documentation package together. The clearer your first message is, the fewer follow-up questions you are likely to receive.
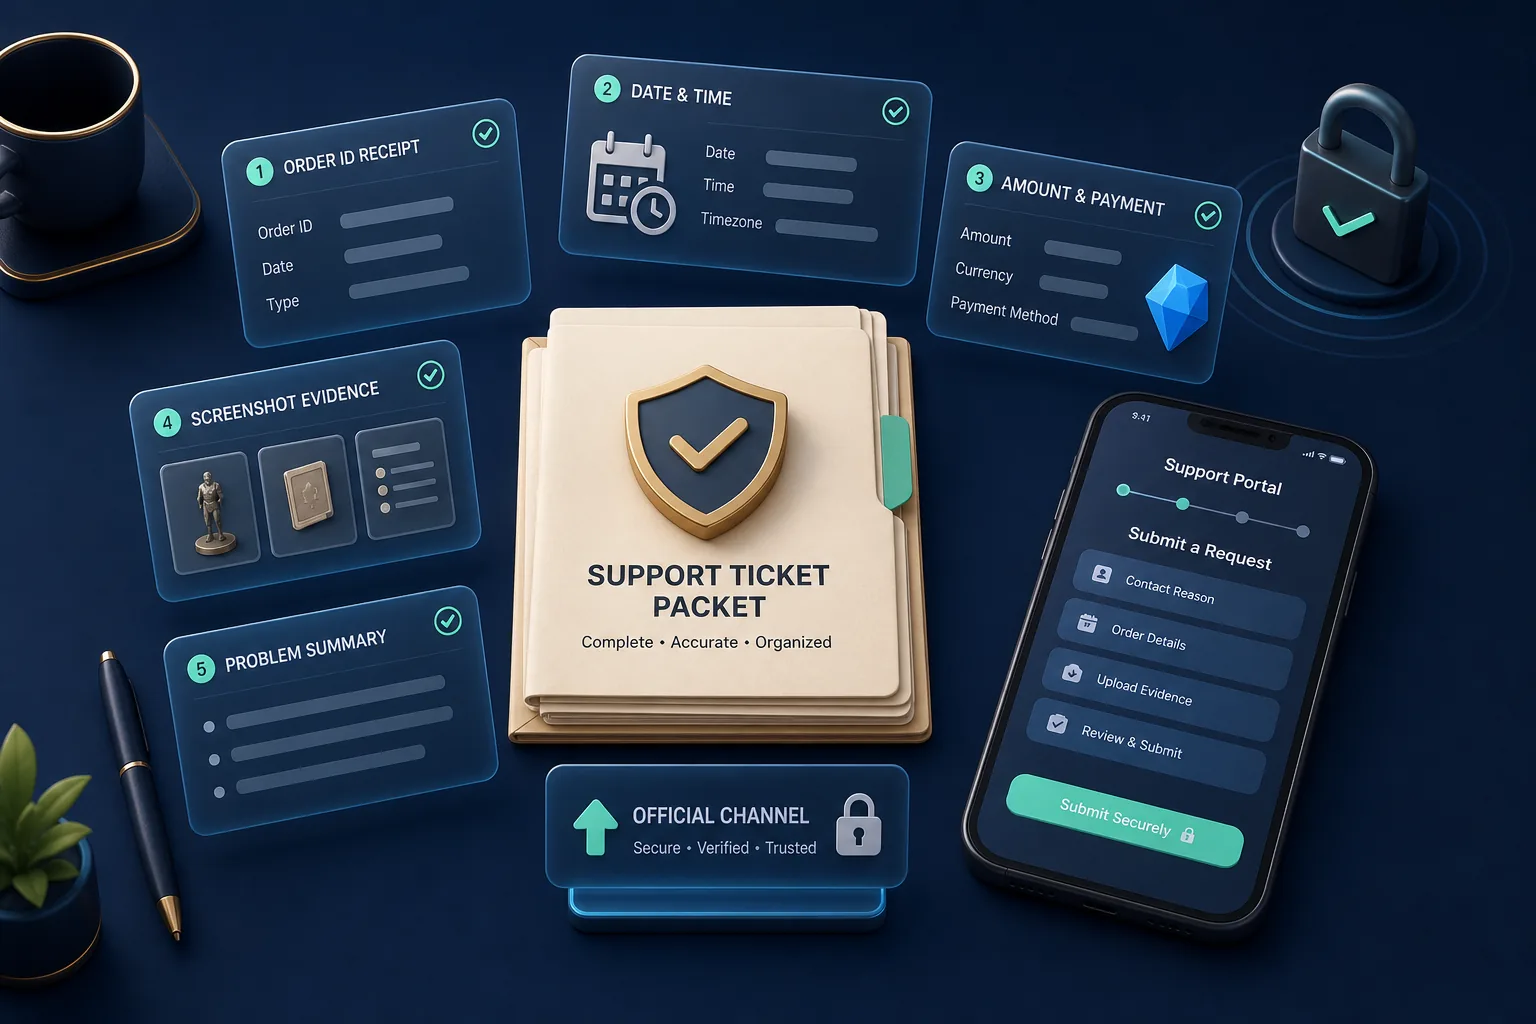
- Account: Your VeVe email, Apple ID, or Google account, shared only as needed and through secure channels.
- Transaction: Gem purchase, Store purchase, Market purchase, Market sale, or web app purchase.
- Time: Date, time, and time zone.
- Amount: Purchase amount, Gem amount, or listing price.
- Order ID: Apple, Google, web checkout, or payment provider ID.
- VeVe documentation: Screenshots of the balance, item, listing, or error message.
- Issue: One sentence explaining exactly what is missing or displayed incorrectly.
If you want to document your activity over the long term, particularly for reporting or recordkeeping requirements, the overview of DAC8 and NFT documentation may also provide useful context. For tax or legal questions, however, you should seek professional advice.
Common mistakes and better alternatives
Mistake: Saving only the bank transaction
A bank transaction shows that money changed hands. However, it often does not show which in-app purchase, item, or VeVe action was involved.
Better: Save the bank transaction as supporting documentation, but always pair it with an Apple, Google, or web order ID.
Mistake: Taking screenshots weeks later
Some details disappear from certain views, change after app updates, or become harder to find later. Timing is especially important for Drops and Market listings.
Better: Take a screenshot immediately after important actions and include the date in the filename.
Mistake: Combining several issues in one ticket
“My Gems, Drop, KYC, and Market are all wrong” is difficult to investigate. Support needs clearly defined cases.
Better: Create one clear case for each issue, with a complete paper trail and brief description.
Mistake: Responding to fake Support
Scammers take advantage of stressful situations. A supposed Support account on social media is not a secure channel for receipts or account information.
Better: Use only official Support and in-app channels—no DMs, wallet connections, or codes.
FAQ: VeVe receipts and proof of purchase
Is a screenshot from VeVe enough as proof of purchase?
Usually not by itself. For Gem purchases, you also need the payment receipt from Apple, Google, or the web checkout. For Store and Market activity, however, a VeVe screenshot is an important part of the paper trail.
Where can I find the Apple order ID?
In your Apple purchase history or at reportaproblem.apple.com. If you initially see only the last 90 days, change the date range or filter.
Where can I find the Google Play order ID?
In the Play Store app under Payments & subscriptions and Budget & history, through play.google.com, or in the Google Payments Center. Also check the confirmation email in the relevant Gmail account.
What should I do if I paid for Gems but they do not appear?
Immediately save the payment receipt, Wallet balance, time, device, app version, and error message. Then contact official Support with a brief chronological description.
Are Market sales relevant for tax purposes?
That depends on your country, circumstances, and applicable rules. This guide is not tax advice. For your own records, however, you should organize and save sales, purchases, fee context, and receipts.
Can I use records from Discord or X?
Possibly as context, but generally not as proof of purchase. Reliable documentation comes from your payment provider, Apple or Google history, VeVe account, or official Support channels.
Final thoughts: Documentation is part of collection maintenance
Collecting on VeVe is not just about Drops, rarities, and Market timing. Long-term collectors should also maintain their records: receipts, order IDs, screenshots, and brief notes.
The best routine is simple: Save the payment receipt, take a screenshot of the VeVe context, use a clear filename, and keep separate Support cases for separate issues. That way, you are prepared if Gems go missing, your account is reviewed, or you later want to confirm when you purchased a particular collectible.
Sources