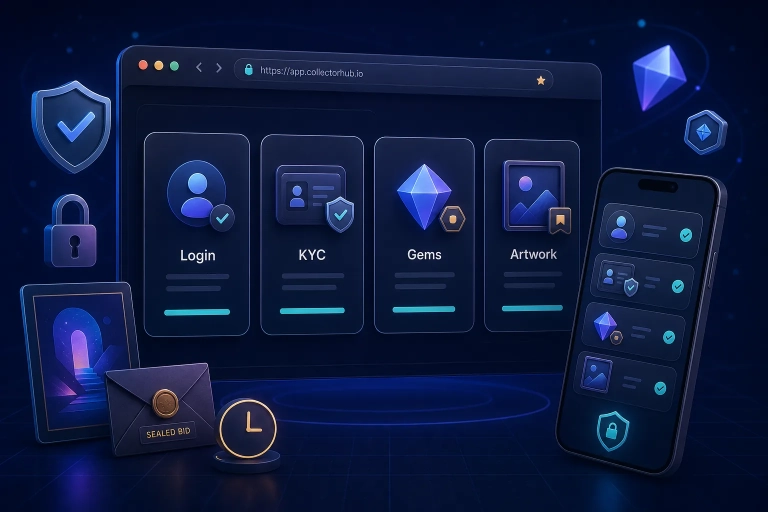
VeVe’s KYC guidance requires successful identity verification for Store purchases and buying or selling on the Market. Prepare an accepted ID, a selfie and proof of address, or use location verification when offered. This guide helps you prepare.
Checked September 30, 2026 against official KYC guidance and terms. Follow the document requirements shown for your country in the verification flow.
Note: This post contains affiliate links or links to pages that contain affiliate links. If you sign up through one of these links, I may receive a commission at no additional cost to you.
Part of this guide: VeVe Gems, OMI & Cashout—the Complete Guide (2026)
What Is KYC—and Why Does VeVe Require It?
KYC stands for “Know Your Customer.” It is a standard process that platforms use to verify that you are a real person. It may seem inconvenient, but it is common in many areas, especially when it comes to:
- Account security and protection against fake accounts
- Regulatory requirements
- Preventing misuse, including fraud and stolen payment methods
Important: KYC is not something unique to VeVe. It is a widely used process on financial and crypto-related platforms.
When Do You Need KYC on VeVe?
VeVe’s official KYC guide states:
- Verification required: Store purchases and buying or selling on the Market.
- Without KYC you can still view an existing collection. App access therefore does not mean purchase features have been enabled.
If you are just getting started, begin with the basics: What Is VeVe? If you are unsure whether VeVe is legitimate, read: Is VeVe Legit? Experiences and Reviews.
Before You Start: Your KYC Checklist
VeVe identifies unsuitable address documents as a common problem. Prepare your ID, selfie and address details:
1) Documents: Clear, Current, and Complete
- ID/passport: Make sure it has not expired
- Photo quality: Clear and not blurry
- Edges visible: The entire document must be in the frame
- No glare or reflections: Nothing should obscure your name or photo
2) Your Name and Details Must Match Everywhere
- The personal information saved in your VeVe account
- Your document, such as an ID or passport
- Address evidence showing your full name and current residence; VeVe allows your ID’s issuing country to differ from your country of residence.
Common issue: “12/3 Main Street” versus “12 Main Street, Apt. 3” may be enough to trigger a mismatch.
3) Technical Setup: Phone Camera and Lighting
- Good daylight or a bright lamp
- Clean camera lens
- No beauty filters or Live Photo effects
- Stable Wi-Fi or mobile connection
Step by Step: How to Complete VeVe KYC
The exact screens may look slightly different depending on the app version, but the overall process remains the same.
Step 1: Open official verification
- Sign in through the web entry linked from veve.me. VeVe’s KYC guide explicitly directs iPhone and iPad users to the web app. On other devices, you can also use the verification entry offered in the official app.
- Open the identity verification flow or verification status offered in your account.
- Follow the official KYC flow. Labels and any handoff to a mobile device can vary by version.
Step 2: Select Your Document
Depending on your country, you can usually choose from:
- Passport
- Government-issued ID card
- Driver’s license (not always accepted)
Choose a document type explicitly offered for your country. Depending on country, VeVe lists passports, national ID cards or driving licences.
Step 3: Take Photos of Your Document
Tips to help your document pass the check right away:
- Place the document flat on a dark surface
- Make sure the entire border is visible
- Avoid shadows over the photo or name
- Keep your fingers away from the corners
Step 4: Selfie / Liveness Check
Many KYC providers perform a “liveness” check. For example, you may need to blink, turn your head, or look into the camera. For the best result:
- Remove your glasses temporarily if they cause reflections
- Remove any hat or cap
- Use a neutral background and good lighting
- Do not position yourself too close to or too far from the camera
Step 5: Verify your address
VeVe asks for address evidence or offers location verification in eligible regions. If location verification is unavailable or you choose not to use it, upload an accepted document, such as:
- Electricity, gas, or water bill
- Bank or account statement
- Tax or residency documents, depending on your country
The evidence must show your full name and current address. VeVe accepts photos of paper documents and electronic PDFs, but not screenshots, mobile phone bills or medical bills. Follow the document-age requirement in the KYC dialog.
The 15 Most Common KYC Issues—and How to Avoid Them
1) The Photo Is Blurry
Hold your phone steady, use daylight, and clean the lens. If necessary, briefly open your camera app to test the focus, then return to VeVe.
2) Part of the Document Is Cut Off
Always keep the entire document in the frame. Many providers automatically reject images with cropped edges.
3) Reflections or Glare
Do not use the flash. Position the light to the side rather than directly overhead.
4) Your Name Does Not Match Exactly
Accents, middle names, and hyphens must match the document exactly.
5) The Address Is Written Differently
Keep apartment, unit, building, and street abbreviations consistent.
6) Your Proof of Address Is Too Old
Check the age limit shown in the KYC dialog and use suitable recent evidence. A single assumed limit does not automatically apply to every document and country.
7) Using a Screenshot Instead of the Original PDF or Photo
Upload an electronic PDF or a clear photo of the paper document. Official guidance excludes screenshots as address evidence.
8) Using a Filter on Your Selfie
Turn off beauty filters, portrait effects, and retouching.
9) Poor Lighting
Use a bright room and make sure your face is evenly lit.
10) VPN or Proxy Is Active
A VPN may cause problems. It is best to disable it while completing KYC.
11) The App Freezes or the Upload Fails
Switch Wi-Fi networks, restart the app, and check your available storage space.
12) Making Several Attempts in a Row
If it fails two or three times, take a short break, improve the conditions—such as lighting or document quality—and try again.
13) Using the Wrong Document Type
Use a document type accepted for your country in the KYC dialog.
14) The Document Is Damaged
Tears or wear over your photo or name can reduce the chance of approval. If possible, use a different accepted ID.
15) Duplicate Account or Someone Else’s Details
Always use your own information. Multiple accounts or someone else’s details may cause problems and could result in account suspension.
If you are new to VeVe and dealing with several issues at once, this overview may also help: Common VeVe Beginner Mistakes & Fixes.
What Should You Do If Your KYC Is Rejected?
It is more common than you might think. Follow these steps:
- Check the reason for rejection, if one is displayed.
- Resubmit with better image quality, including improved lighting, sharpness, and full-document framing.
- If you are still unable to proceed after several attempts, use the VeVe Help Center or contact Support.
KYC & Privacy: How to Protect Your Information
You are submitting sensitive information, so handle it carefully.
- Start only through official VeVe entry points and the verification flow linked there.
- Never send documents via DM or Telegram to someone claiming to be “Support.”
- Do not keep KYC photos in your photo gallery longer than necessary. Delete them after KYC has been completed successfully.
- Use strong passwords and additional security features when available.
For general platform security guidelines, see my StackR article: StackR Explained: Setup & Security.
FAQ
How Long Does KYC Take?
Do I Need KYC to Use VeVe?
How Does KYC Benefit Me?
Get Started with VeVe
Affiliate disclosure: This is an affiliate link. There is no additional cost to you.