If you’re new to VeVe, you’ll quickly come across three terms during current Drops: Waitlist, Auto-Pay, and Rebound. They may sound technical at first, but the process is straightforward: first you enter the selection, then you may receive a reservation, and only then do you make the actual purchase.
The most important thing to understand is that Auto-Pay does not improve your odds of being selected. It only helps complete the purchase if you are selected. And Rebound is not an official VeVe feature. It’s a community term for collectibles that may return to the Store after purchases are not completed.
TL;DR: The Waitlist first determines who gets a chance to buy. Auto-Pay can then help complete the purchase, but it does not replace the selection process. Rebound can happen, but it is never guaranteed.
- The Waitlist is designed as a fairer alternative to a purely first-come, first-served system.
- You only become a buyer after selection, not when you join the Waitlist.
- Newer Drop posts often provide 7 minutes to complete a purchase, while older guides stated 5 minutes.
- If a reserved purchase is not completed successfully, the collectible may return to the public pool.
- Spending hours hoping for a Rebound is rarely a good strategy.
Why the Waitlist, checkout, and Auto-Pay are connected
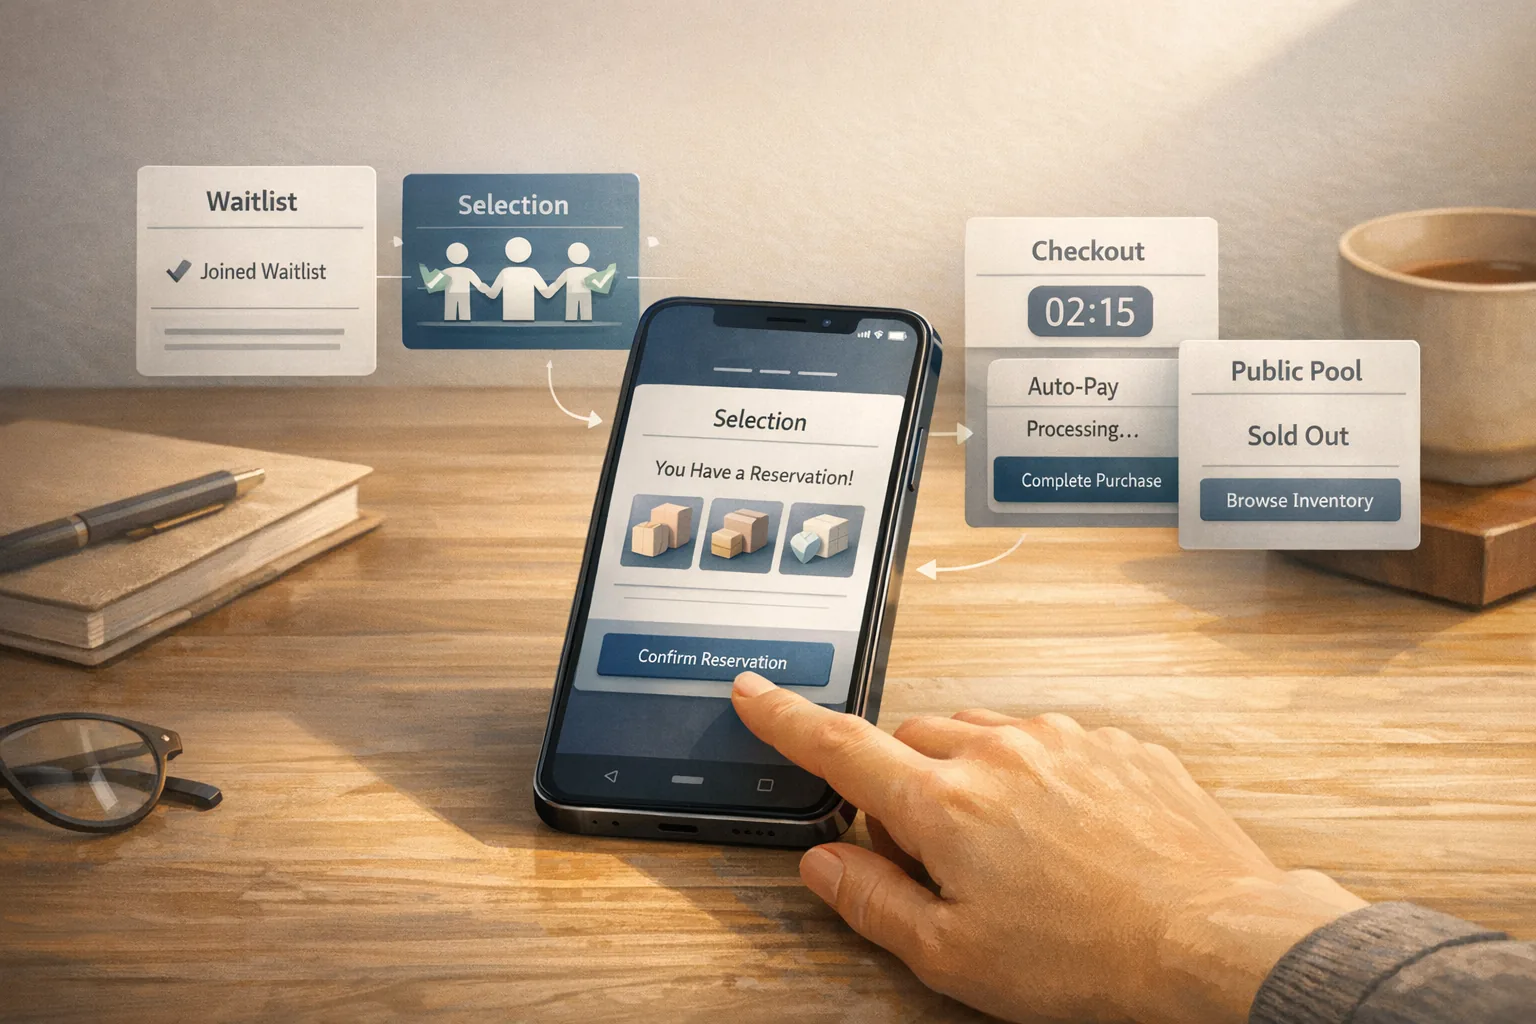
In a Waitlist Drop, the first step is not having the fastest tap. It’s entering the selection process. That’s the core of the system. Instead of everyone tapping “Buy Now” at exactly the same moment, collectors join the Waitlist during a set window.
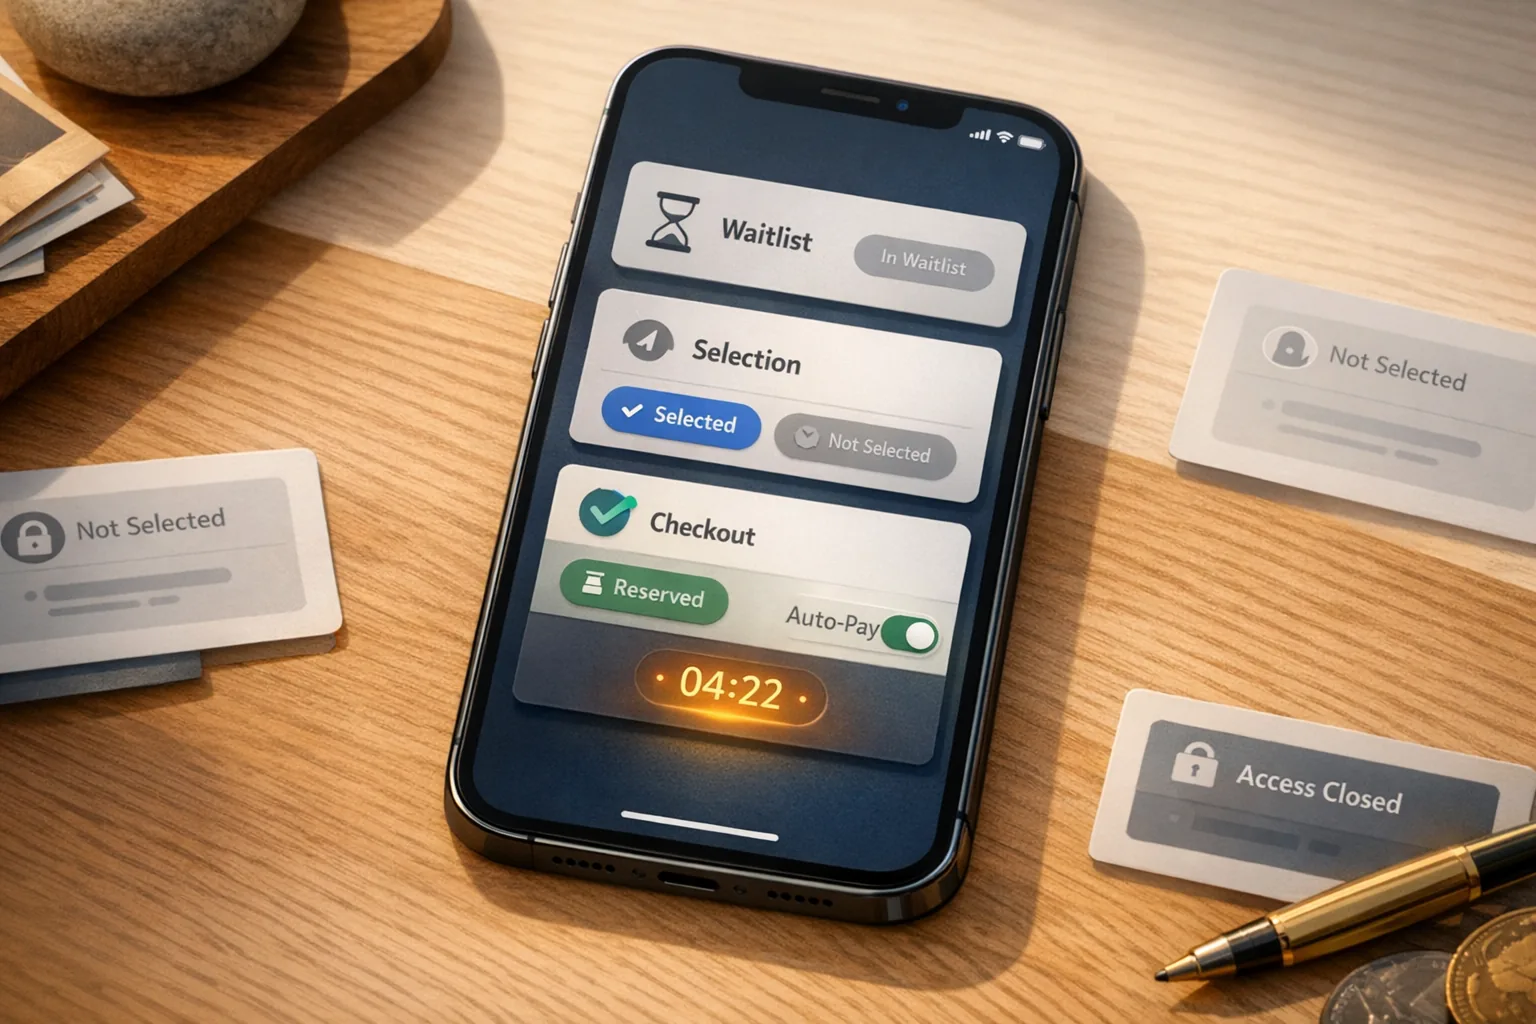
Reservations are then assigned at the Drop time. Your personal checkout countdown only begins if you receive one. This is exactly where Auto-Pay comes in—not before selection and not as a replacement for it, but after you have been selected.
That’s why many beginners are initially confused: They assume Auto-Pay somehow gives them a better position. It doesn’t. Auto-Pay primarily helps prevent you from losing your opportunity by failing to complete the purchase.
To learn more about how current Drops work, see our guide to VeVe Drop Strategies for 2026.
Key terms explained
- Waitlist: The list you join before the Drop to be considered for a reservation.
- Reservation: Your limited-time opportunity to buy after being selected. This is when it’s actually your turn.
- Checkout: The point when payment and the order are successfully processed. The item is not yours before then.
- Auto-Pay: A VeVe feature designed to complete the purchase automatically if you are selected.
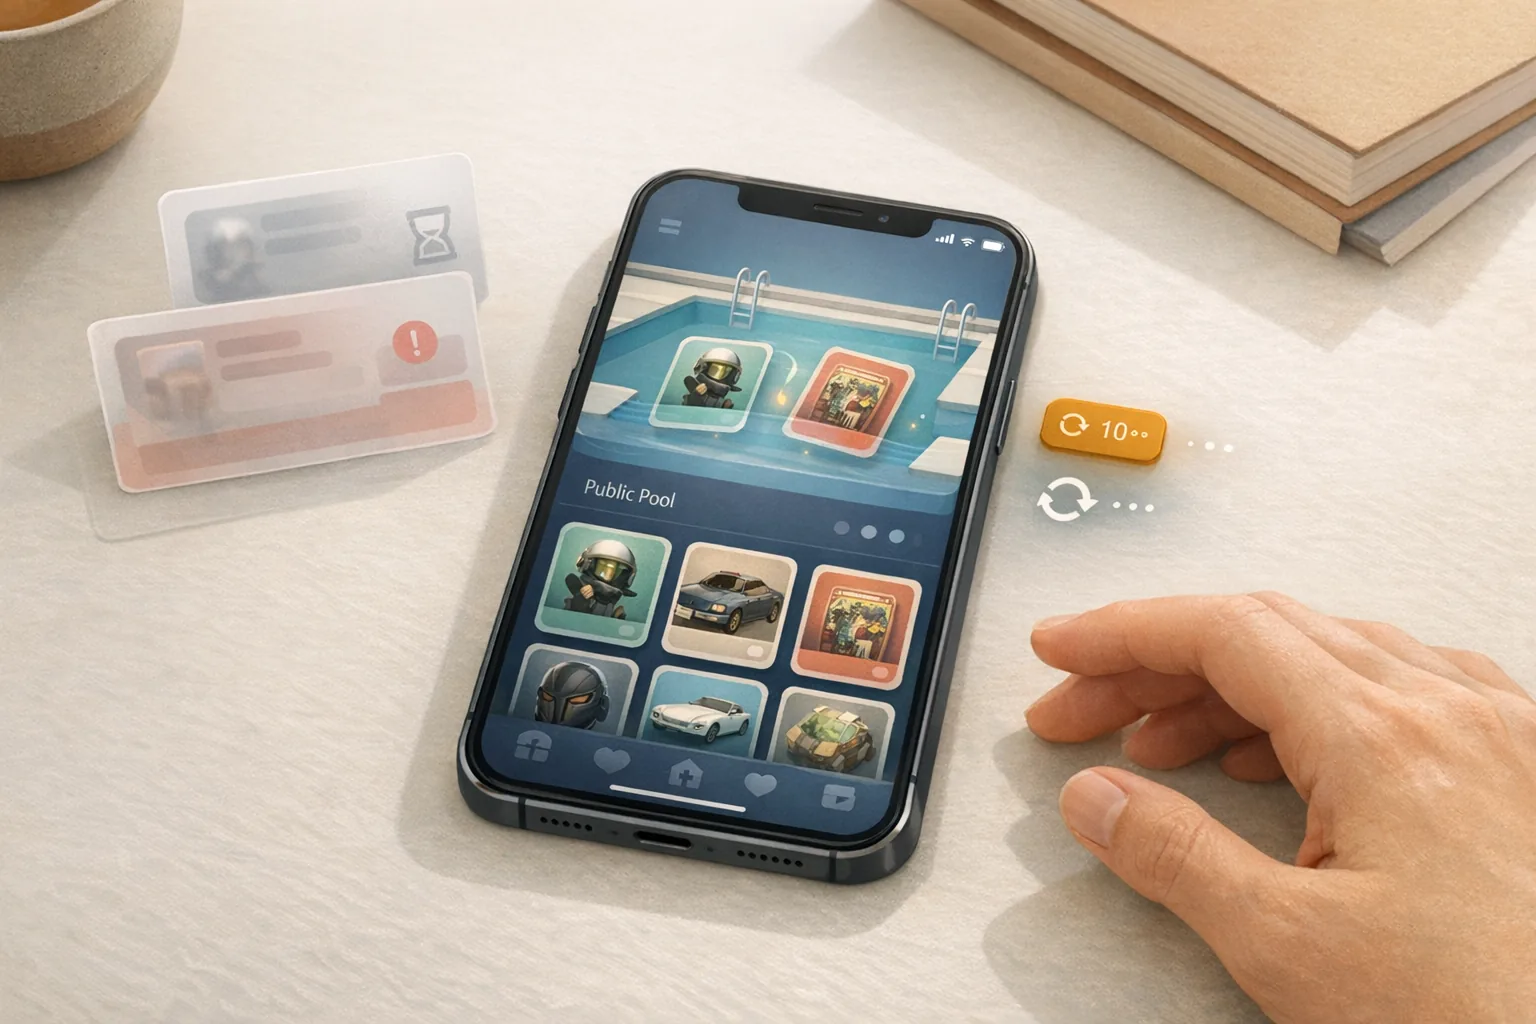
- Public Pool: The publicly available inventory that uncompleted reservations may return to.
- Rebound: The community term for this second chance to purchase returned collectibles. It is not an official feature name.
- Blind Box: You buy the box but do not know the specific rarity until the purchase has been completed successfully.
How a Waitlist Drop works in practice
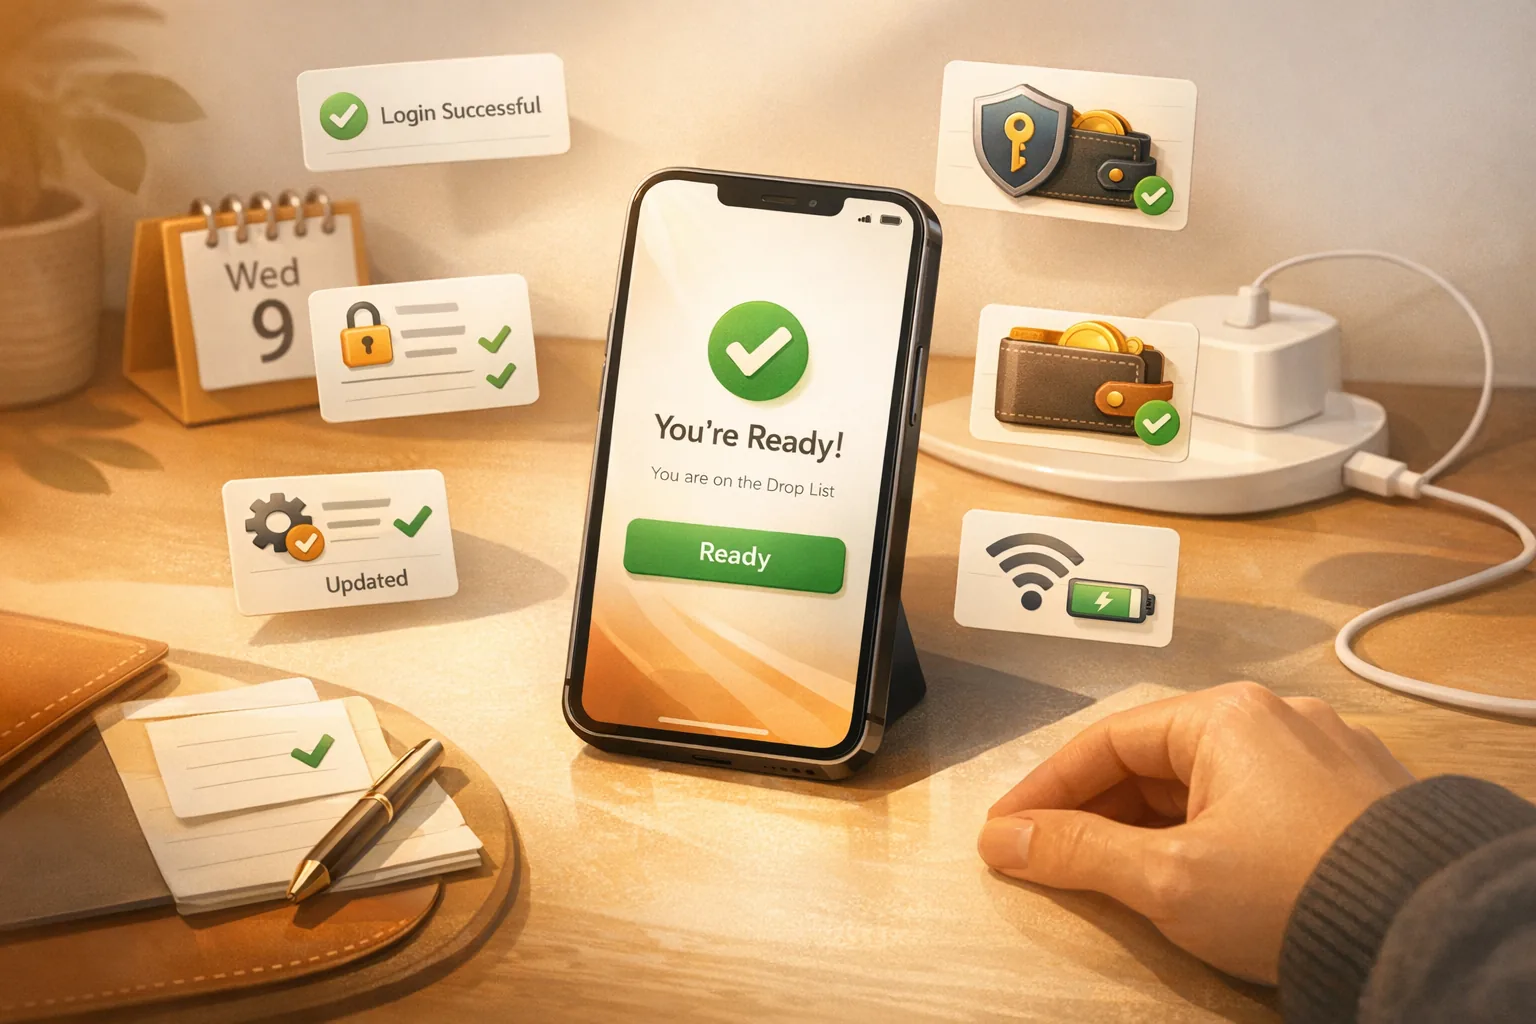
- Find the Drop and prepare: Check the time, app status, login, connection, and payment method. Right before the Drop is not the best time to make rushed changes. For a final pre-Drop routine, see VeVe Drop Preparation: 7 Quick Checks.
- Join the Waitlist: The Waitlist opens before the actual Drop. You must actively join during this window.
- Check your status: While the Waitlist is open, what matters is that your entry has been recorded correctly.
- Use Auto-Pay deliberately: If you want to use Auto-Pay, make sure you have checked your setup beforehand. Auto-Pay is not a magic button; it simply automates the purchase if you are selected.
- Selection at the Drop time: This is when you find out whether you received a reservation. Without a reservation, there is nothing to pay for at this stage.
- Checkout countdown: If you are selected, you have a short window to complete the purchase. Older VeVe explanations stated 5 minutes, while newer Drop posts often state 7 minutes. Always follow the current timer in the app or on the web.
- Delivery or return to the pool: If checkout is not completed, the reservation is lost. The collectible may then become publicly available again.

What Auto-Pay can and cannot do
Auto-Pay is useful if you cannot be at your device at the exact Drop time or simply want to reduce the risk of missing checkout. The feature is designed to turn a successful Waitlist selection into a completed purchase.
What Auto-Pay does not do is guarantee selection, provide secret priority, or give you a claim to a Rebound. If you are not selected, there is nothing for Auto-Pay to “save.”
When it comes to payment, you should also clearly distinguish between a selection issue and a payment issue. To better understand why Gems, in-app purchases, and payment methods can sometimes feel more complicated than expected, read Buying VeVe Gems: Website vs. App and why Gems are often more complicated than the displayed price suggests.
New to VeVe? According to the current starting credit guide, you’ll receive $10 in free starting credit when you sign up through our link (at no extra cost to you!).
A realistic look at Rebound
The community has made many observations about Rebound, but not everything has been officially confirmed. This is where it helps to separate the two clearly.
What we know
What we know is that when a reservation is not completed in time, the collectible is not necessarily gone forever. According to VeVe’s official explanations, uncompleted reservations return to the publicly available inventory and may become available for purchase again.
We also know that “Rebound” is simply the community term. VeVe officially describes the process more as a return to the public or publicly available pool.
What comes from community observations
Community observations concern exactly when these collectibles appear, whether they return in distinct waves, and how long it is worth checking. Some collectors report brief additional windows, while others see nothing else become available. Either can happen.
That’s why Rebound is not a predictable, guaranteed second round. It is better viewed as a possible remaining opportunity. Anyone claiming that every Drop automatically provides several guaranteed follow-up buying windows is promising too much.
When further checking is usually no longer worthwhile
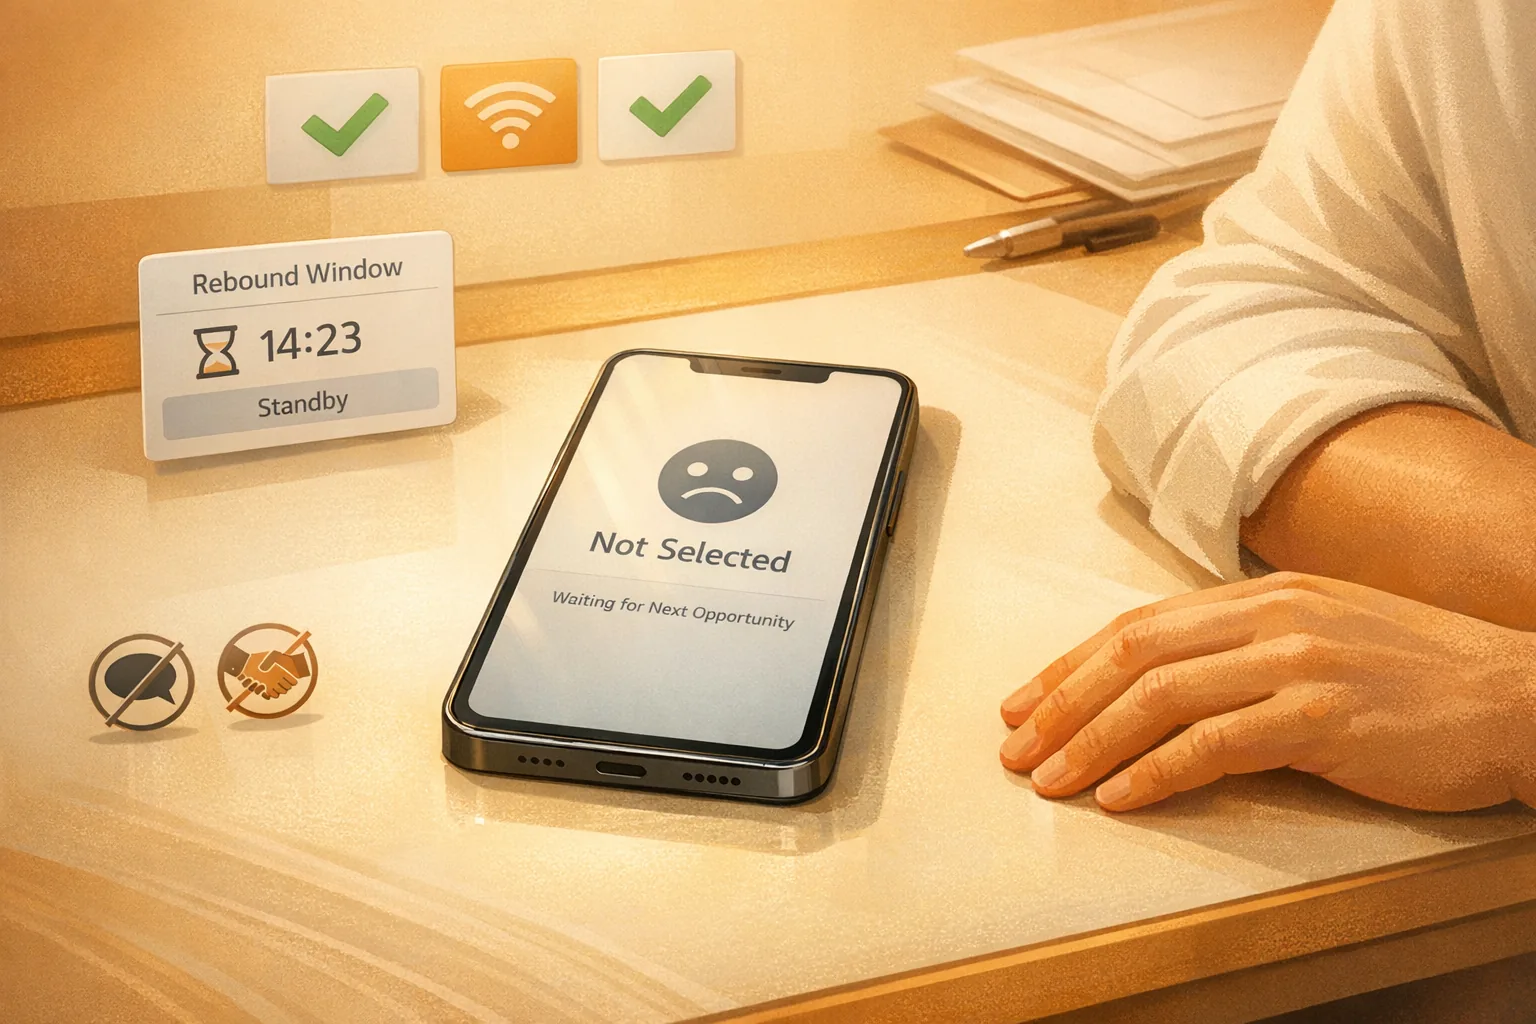
A short, focused check immediately after the reservation phase is realistic. Constantly refreshing for a long time usually is not. If the Store clearly remains empty, checking several times changes nothing, and activity has already moved to the secondary market, the practical value drops significantly.
A collector-first approach means knowing when to stop instead of getting caught up in endless hope.
Your Drop-day strategy
During the Drop
Join the Waitlist on time, check your status, and avoid making unnecessary changes to your setup shortly before the window closes. If you want to use Auto-Pay, make that decision beforehand rather than at the last second.
After the Drop
If you were selected, focus on completing the purchase correctly. If you were not selected, you can briefly check for possible returns. Stay in the app or web Store rather than turning to DMs, group hype, or off-platform offers.
When to move on
Once the immediate follow-up period is over and nothing else appears, it is usually better to step away from the Store and calmly watch the Market. This is where many beginners make mistakes. For the most common pitfalls, read VeVe Beginner Mistakes & Fixes. If you are just getting started, our VeVe Beginner’s Guide 2026 can also help.
Collector Checklist
- I’m properly logged in before the Drop.
- My app or web access is up to date and stable.
- I understand the difference between the Waitlist, a reservation, and checkout.
- I have checked my payment method or Gem setup beforehand.
- I do not expect Auto-Pay to improve my odds in the selection itself.
- I plan to check briefly for possible returns, but I will not turn it into an endless marathon.
- I only use official VeVe channels—not DMs or off-platform deals.
Common mistakes to avoid
- Treating Auto-Pay as an odds booster: The feature helps with checkout, not selection.
- Confusing Waitlist success with guaranteed ownership: Only a completed purchase counts.
- Checking the timer too late: Older and newer information may state 5 or 7 minutes. Rely on the timer for the specific Drop.
- Treating Rebound as a guaranteed Plan B: It is possible, but never promised.
- Rushing to change payment methods just before the Drop: This increases stress and the risk of errors.
- Turning to DMs or external groups after not being selected: This is where scam and Dirty Gems risks often appear.
- Entering Blind Boxes unprepared: When you buy the box, you accept that the rarity will be randomly assigned after successful checkout.
FAQ
Why do I sometimes see 5 minutes and sometimes 7 minutes?
Older official guides described the process as allowing 5 minutes, while newer Drop posts often state 7 minutes. For your specific attempt, always follow the current timer in the app or on the Drop page.
Why don’t I see a Buy Now button even though I joined the Waitlist?
The Buy Now button only appears if you actually receive a reservation. Joining the Waitlist alone does not give you an opportunity to buy.
Why wasn’t I charged?
The most common reasons are that you were not selected, Auto-Pay was not active or configured correctly, or the payment could not be processed successfully during checkout. Always check whether you had a reservation before looking for a payment error.
Do I need to load Gems before joining the Waitlist?
According to the official Waitlist explanation, you do not necessarily need Gems to join the Waitlist itself. Your payment method must, of course, work when it is time to complete the actual purchase.
Has Rebound been officially confirmed?
The return of uncompleted reservations to the publicly available inventory has been officially confirmed. The term “Rebound” itself is community language.
Is it always worth checking for a Rebound?
No. A short, structured follow-up check may be worthwhile. Refreshing continuously for a long time out of frustration often achieves little and mainly costs you focus.
The bottom line: First understand the sequence Waitlist → selection → checkout → possible return to the public pool. Once you separate these stages clearly, VeVe Drops immediately feel less chaotic, and you can avoid the common misconceptions surrounding Auto-Pay and Rebound.
New to VeVe? According to the current starting credit guide, you’ll receive $10 in free starting credit when you sign up through our affiliate link (at no extra cost to you!).
Sign up for VeVe with starting credit
Disclosure: Affiliate link (we may receive a commission at no extra cost to you.)
Sources